
In the previous post, I showed how I built the large graduated background for the sun quilt. In this post, I’ll share how I created the sun and attached it to the background.
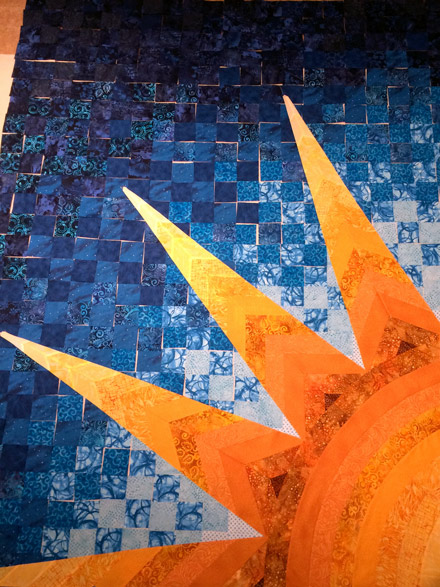
I attached the finished rays to the round body of the sun to create the full sun. With the sun fully together and the background fully pieced, I was ready to attach the sun to the quilt. I laid out the background and pinned the sun in place on it. Then I used a blind hemstitch with monofilament thread and attached the sun and rays to the background.
Now for the scary part: cutting away the background from behind the sun.
Turning the quilt top over, I was able to see the blind hemstitch line around the sun and its rays. I drew a 1/4″ line inside the stitching line on each ray. Using scissors and lifting the backing away from the sun rays I had just appliquéd onto the backing, I cut away the excess backing, being careful not to snip any portion the sun.
Finally, quilt top was complete!
The next post describes how I planned and executed the quilting design, binding, and backing.

Leave a comment